
I have been a .Net developer for about 3 years now. And in those years, I have experienced a great ordeal from RENAMING SOLUTIONS. I know that by doing so, it will break a lot of things like dealing with missing files and incorrect namespaces.
Based on my experience I did break a lot of things haha! Now, these simple steps will help you overcome this problem.
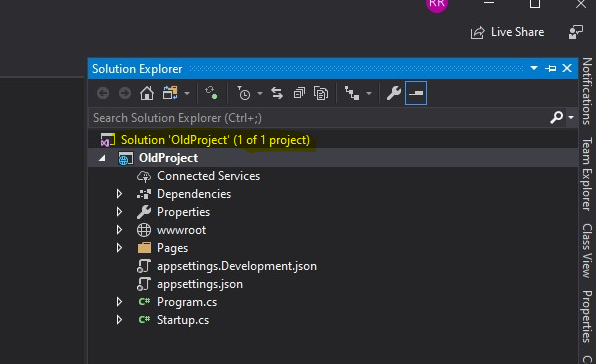
In this example, we will use “OldProject” as the old project name and changing it to “NewProject” as the renamed project.
Step 1. Backup
First things first, make sure to always create a backup file.
Simply copy your project to a different directory.
There is no harm in doing this. Trust me, you can save a lot of time when things go south if you do this step.
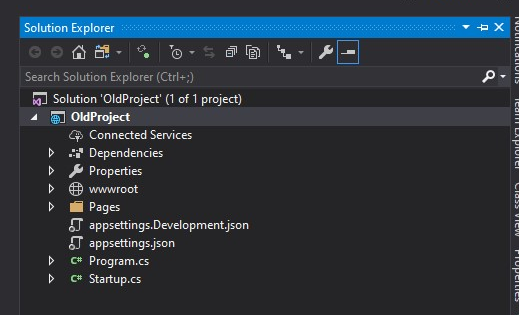
Step 2. Rename the root folder to the new name
Right click on the folder and select ‘rename.’ You may now change the title of the Solution to your desired name.

Right click

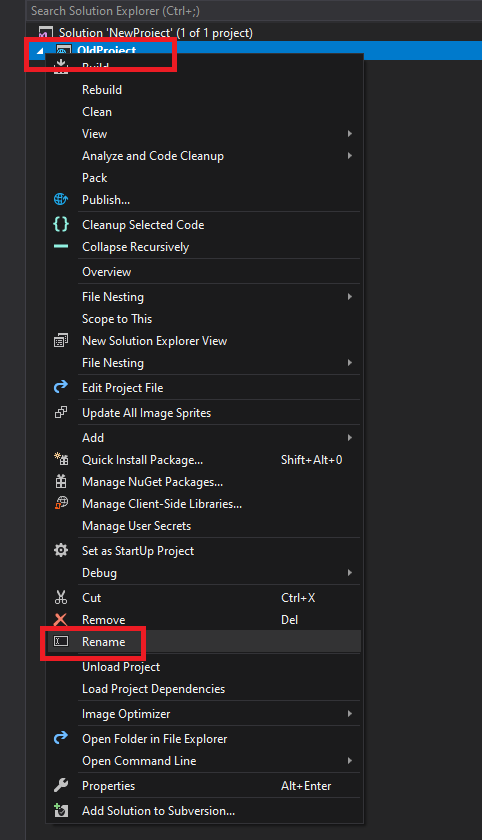
Step 3. Update the name of the Solution & Project via Visual Studio
Open the Solution in Visual Studio. The same steps apply as when you rename the root folder.
Right-click on the Solution and select on ‘rename.’

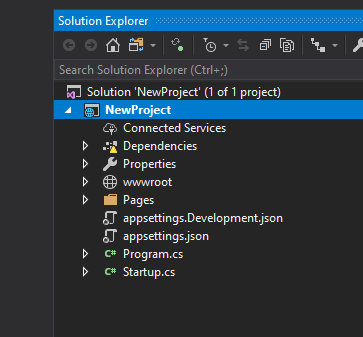
After changing the Solution name with your desired name, you can now change the project name.
Change to your desired name
Step 4. Open any .cs and rename all namespace
In this example, I will open Startup.cs.
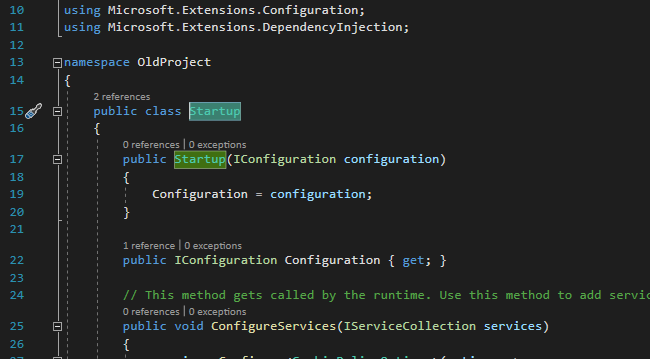
Now on the namespace
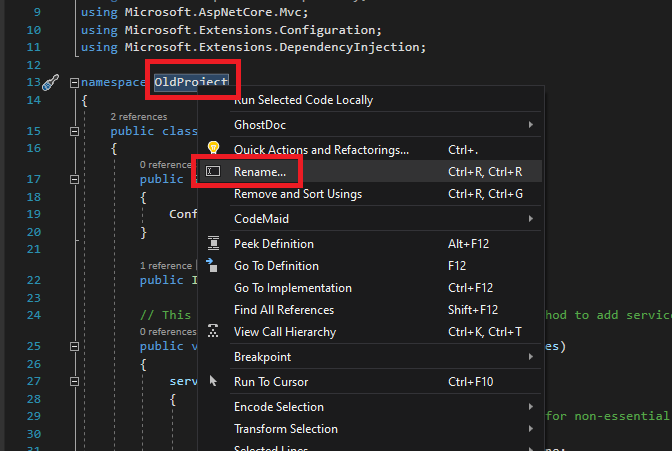
Click on the ‘namespace’ and select ‘Rename’ to change it to your desired name.
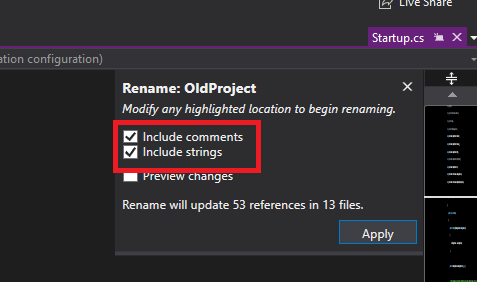
This might show up to some of you. If this happens, simply check ‘Include comments’ and ‘Include strings’ to ensure everything will be changed. Then, click on the ‘Apply’ button.
Step 5. Close solution and rename
Inside the root folder, change the folder name to your desired name.


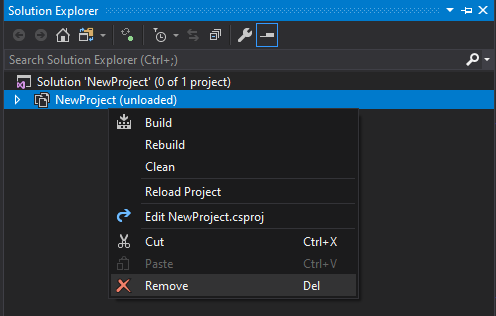
Step 6. Open the solution and remove the unloaded project

You will see something like this but don’t worry because this is fine. Now, remove the unloaded project by right-clicking the certain project and select remove.
Step 4. Adding the newly renamed project
At the top left corner, you will see a File option.
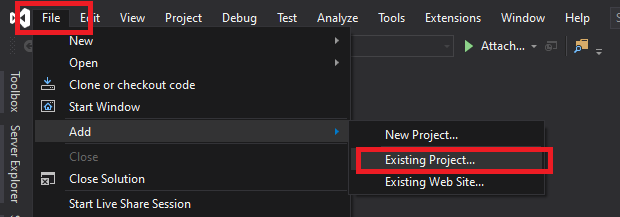

Select ‘Existing project’ and the newly renamed “.csproj” project.
That’s about it! You have successfully renamed your project and solution.