Introduction
.Net development pronounced as it is, is a framework that provides programming guidelines that can be used to develop a wide range of web and mobile applications to Windows-based. Also, the .NET framework can work with several programming languages such as C#, VB.NET, C++ and F#.
.Net development has key new features and enhancements. Let us define these extended features first before we dive into the basic and quick way to set up your computer to a new software framework.
New features
Improved search: Formerly known as Quick Launch, a new search experience that is faster and more effective.
Refactorings: There are lots of new and highly useful refactorings in C# that makes it easier to organize your code. They show up as suggestions in the light bulb and include actions such as moving members to interface or base class, adjusting namespaces to match folder structure, convert foreach loops to Linq queries, and more. Simply invoke the refactorings by pressing Ctrl+and selecting the action you want to take.
IntelliCode: Visual Studio IntelliCode enhances your software development efforts by using artificial intelligence (AI).
Code cleanup: Paired with a new document health indicator is a new code cleanup command. You can use this new command to identify and fix both warnings and suggestions with the click of a button.
Per-monitor aware (PMA) rendering: If you use monitors that are configured with 1) different display scale factors, or 2) connected remotely to a machine with display scale factors different from your main device; you might notice that the Visual Studio looks blurry or renders at the wrong scale.
More details: link
Steps to Setup Your Computer
Here are the simple step by step you need to know in order to install “Visual Studio 2019” and set it up for .Net development.
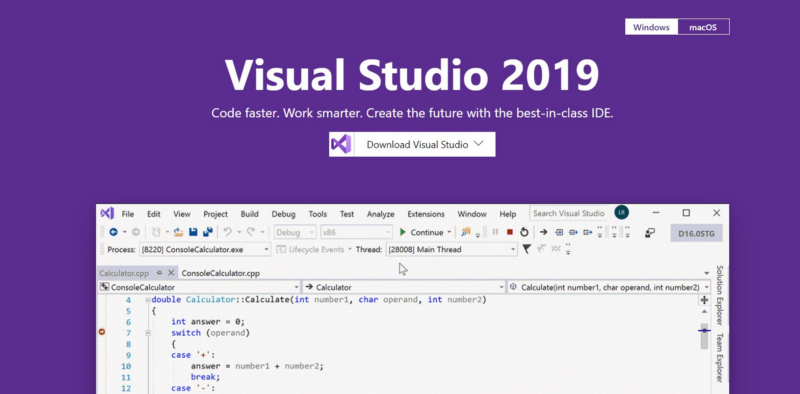
Step 1. Download installer through this link. Choose a version from Community, Professional or Enterprise.
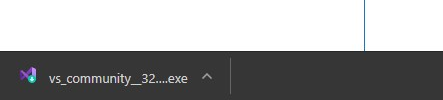
Step 2. At the lower left corner click .exe installer
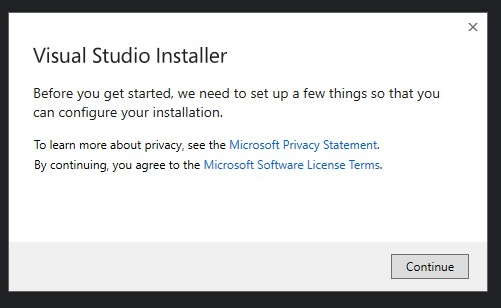
Step 3. The Visual Studio Installer will pop up. Click “Continue”.
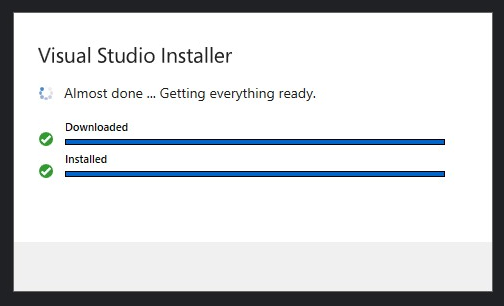
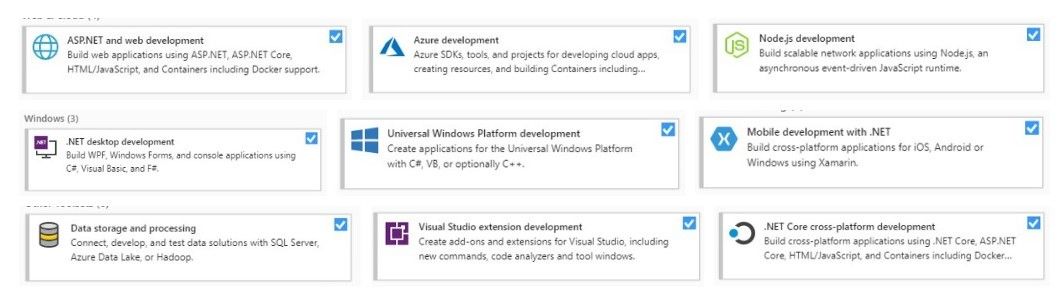
Step 4. Wait until the progress bars are completed. Then, on the first tab, select all necessary “Workloads”.
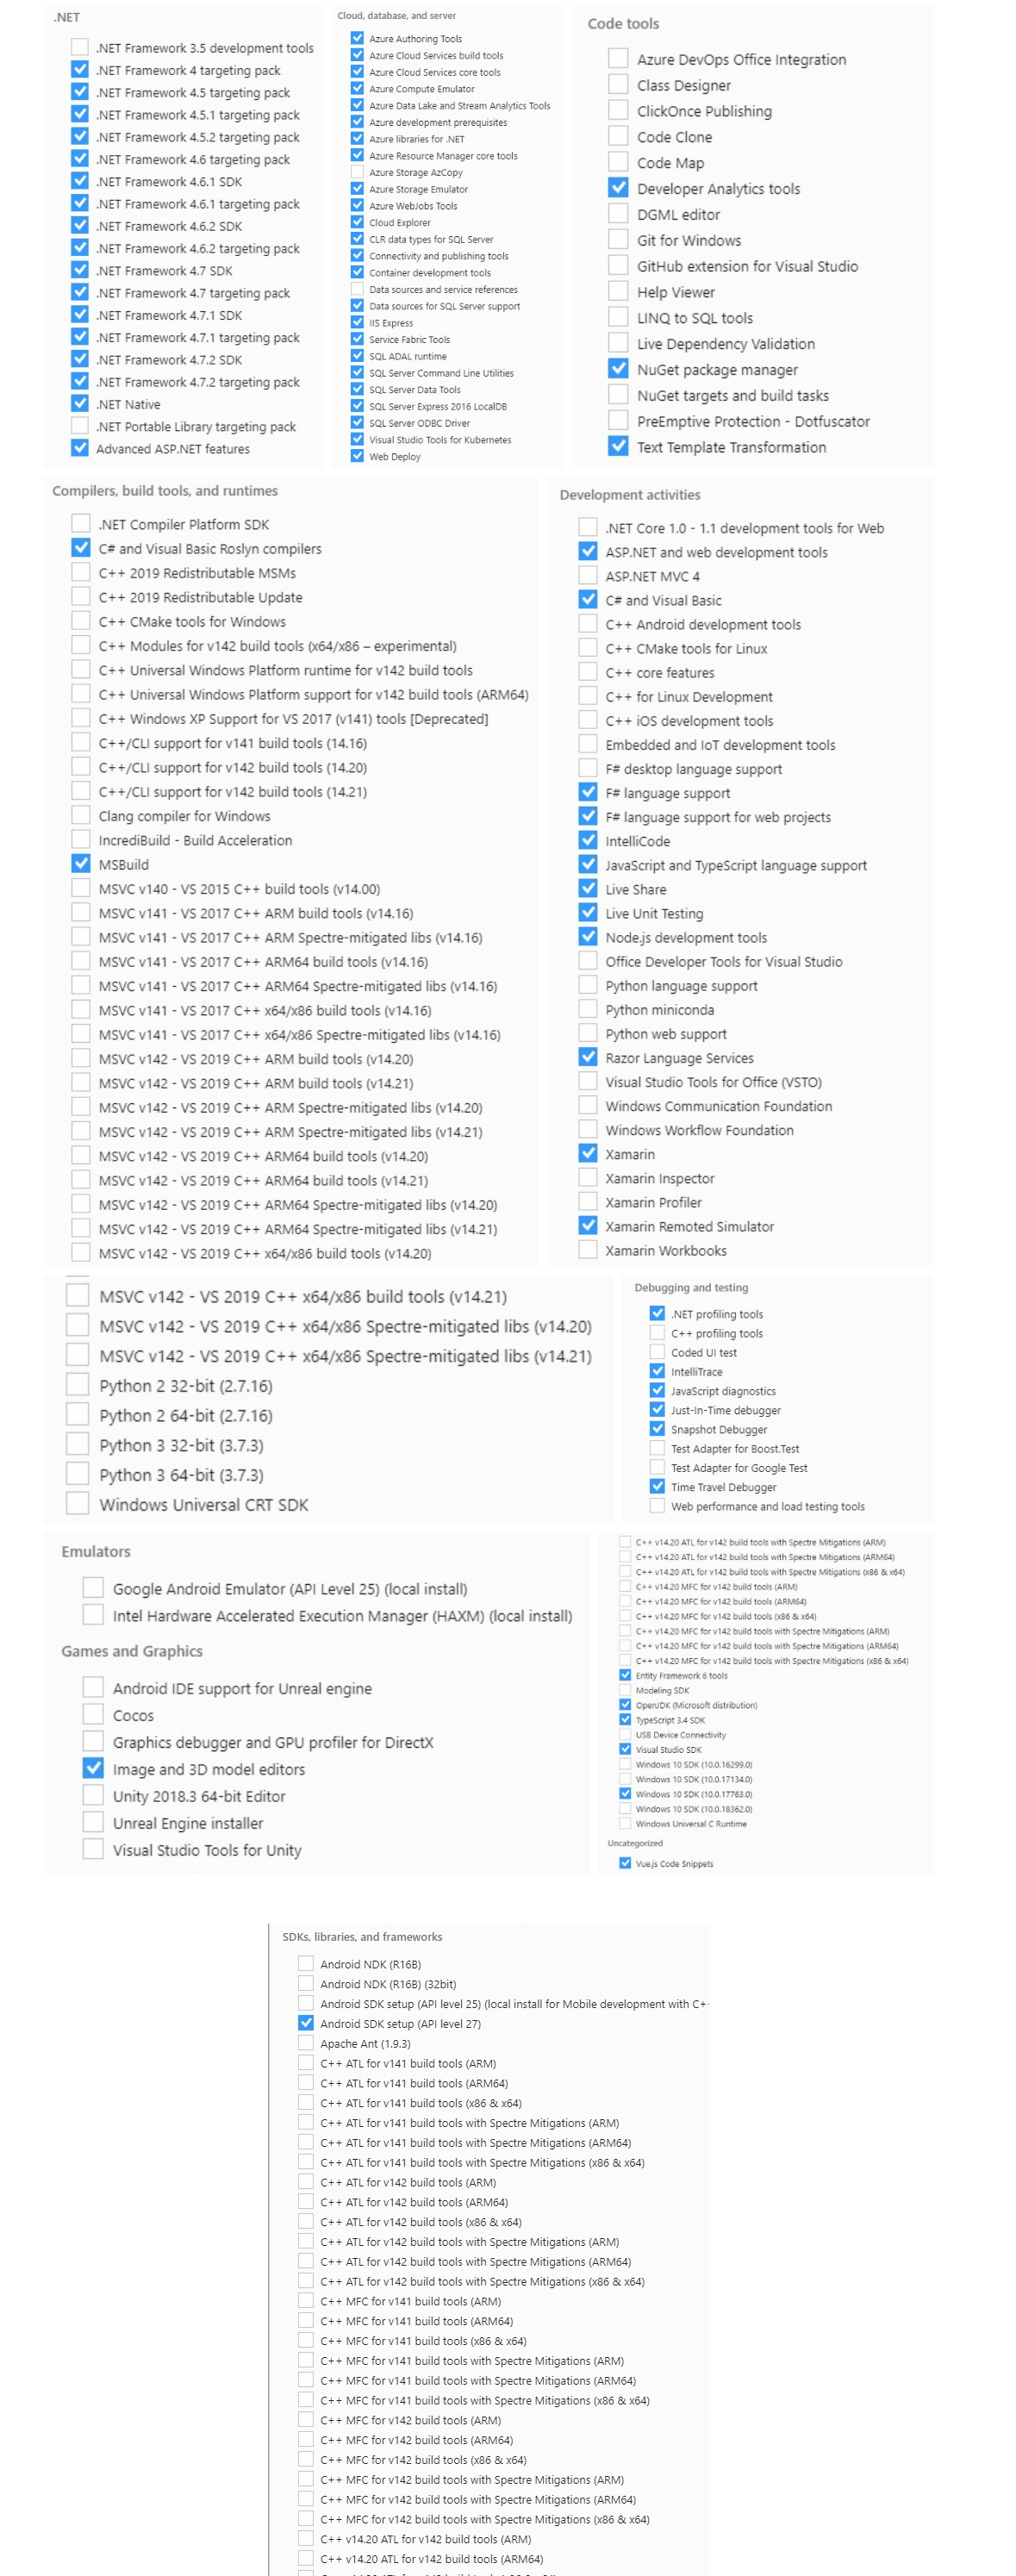
Step 5. On the next tab, “Individual components”, select all necessary components that you will need. Below is my list as a reference.
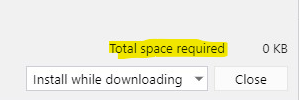
Note: After selecting “Workloads” and “Individual components”, you will see “Total space required” at the lower right corner. This will be the amount of free space you will need on your drive. The “Total space required” varies based on the selected workloads and individual components.
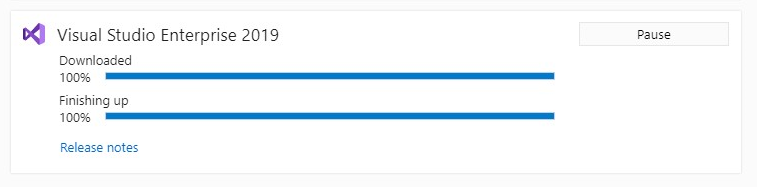
Step 6. Click “Install”. The installation process will begin and you will be able to see the progress in downloading and installing the Visual Studio package.
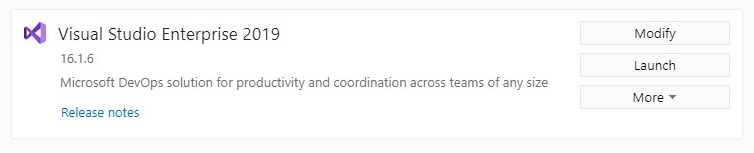
Note: After completion, you will see three (3) buttons: Modify, Launch, and More. Click “Launch”.
Step 7. Your screen should display the Visual Studio 2019. You can open your recent solutions as shown on the left side. Meanwhile, you can also start your project from the options available at the Get Started part (“Clone or checkout code”, “Open a project or solution”, “Open a local folder”, “Create a new project”), or “Continue without code”.

Step 8. Enjoy your Visual Studio 2019.